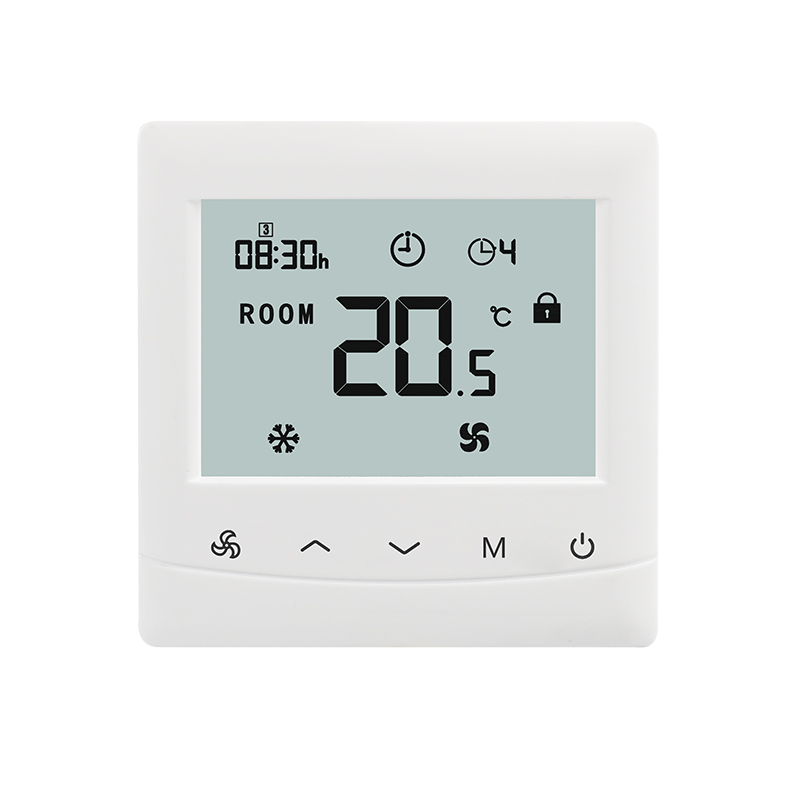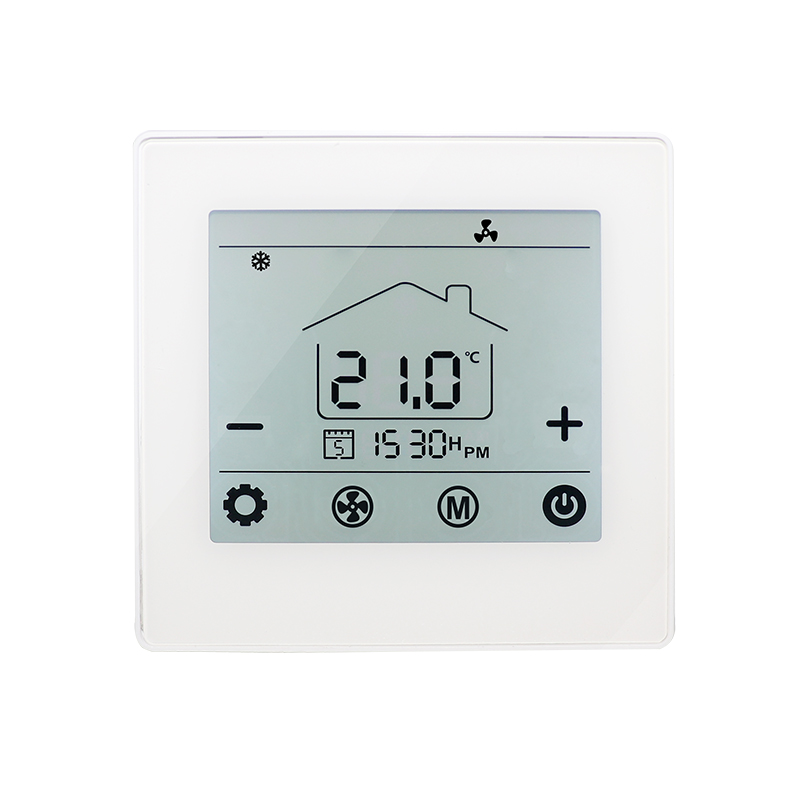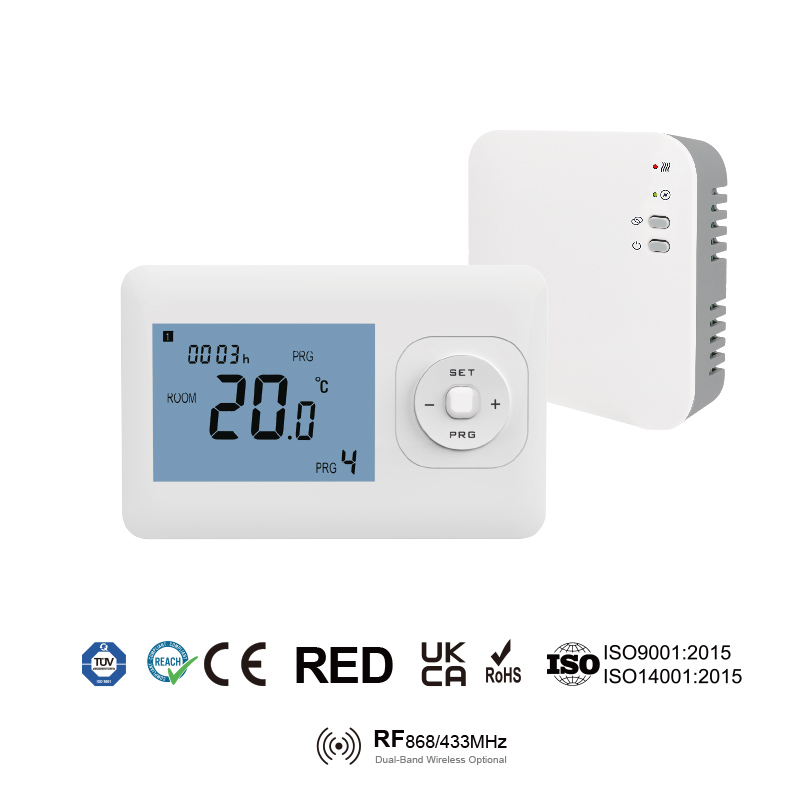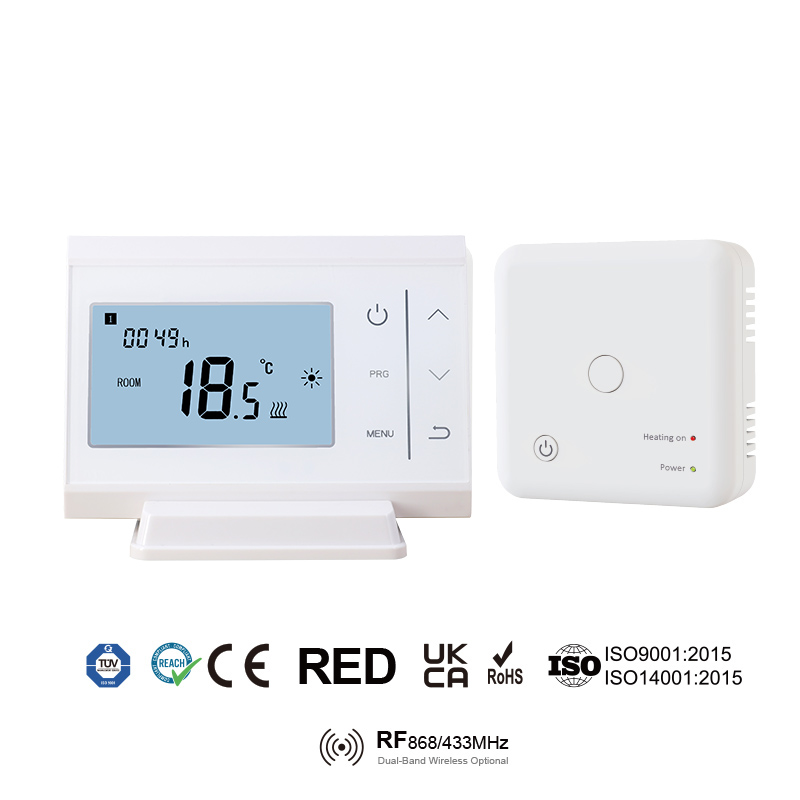
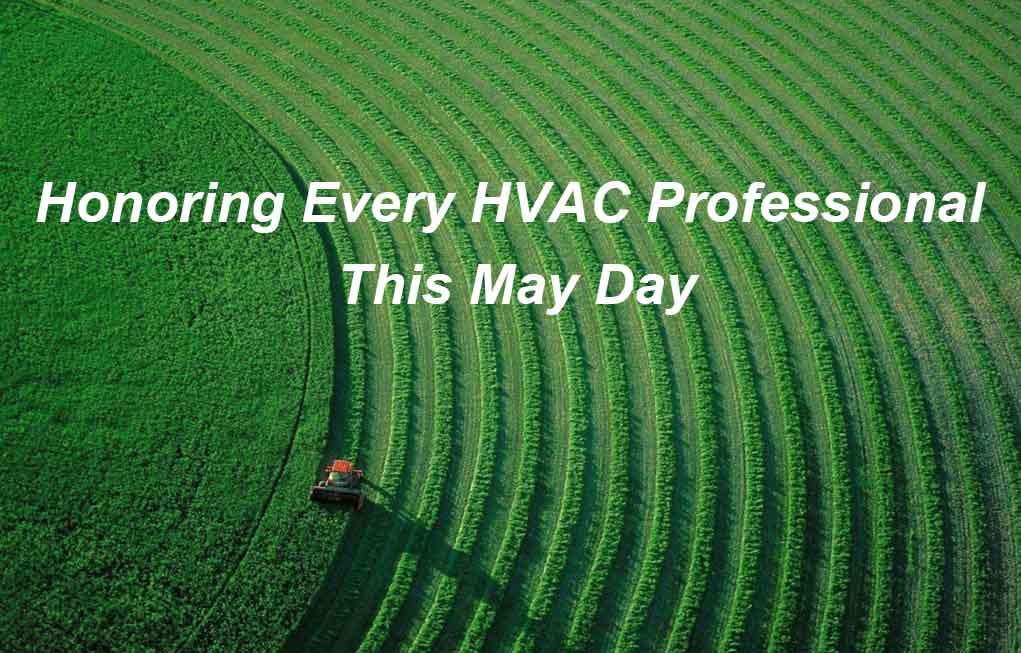
A Heartfelt Thank You to Our HVAC Partners As International Workers' Day approaches, E-Top Controls extends our most sincere respect to the installation engineers, commissioning specialists, project managers, and partners across the globe who remain on the front lines of the HVAC industry. We deeply believe that behind every high-quality HVAC system are dedicated professionals who work tirelessly to make it happen. It is your day-to-day commitment to every detail—from product selection and on-site installation to system commissioning and after-sales support—that ensures thousands of households enjoy a stable, comfortable, and smart thermal environment. Your expertise and dedication are the vital forces driving our entire industry forward. This International Workers' Day, we want to say a big Thank You to all the installers, engineers, and partners who turn our thermostats into real comfort for end users around the world. Because of you, "temperature" carries more warmth. To all HVAC workers: Happy International Workers' Day! Wishing you good health, successful projects, and a wonderful holiday! 2026 May Day Holiday Schedule Holiday Schedule: Duration: May 1st to May 5th, 2026. Customer Support: Active as usual. Our team will be monitoring emails and inquiries to provide the same reliable service you expect.
View More